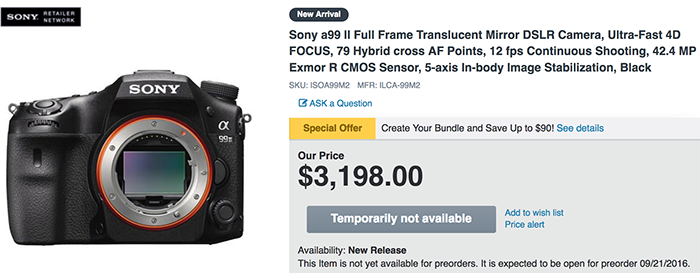
Matt Granger posted a short A99II hands-on video. In short he says that this may be like an A7rII without its downsides like terrible battery life, overheating and durability. Cinema5D interviewed Sony and there are few new info. For example Sony says that in their testing the A99II 4K recording mode will have no overheating when shooting at 40 degree Celsius.
1) The a99 II has all the same gammas and audio options as the a7R II, but with the addition of Slog-3
2) The new menu is quite snappy and a bit more intuitive that before, but its not a radical departure. More usefully there is a new dial on the front of the camera that can control aperture clicklessly – which is great. I wish this feature was on other cameras. You can also switch between S35 and full frame modes at the push of a button – this is also great.
3) Sony told us that the output of the sensor benefits from a new LSI processing chip. The result is that the image and rolling shutter performance may be even better than the a7R II.
4) Strangely autofocus is the camera’s weak area for video. The blisteringly fast new AF system doesn’t work the same way in video mode as stills.
5) Sony have created the camera that most Canon DSLR video lovers would have died for. If the a99 II had an EF mount the internet would probably have melted by now. As it is, the a99 II deserves more attention because Sony have done exactly what Canon have refused to do. If you want a well built S35 shooting 4K hybrid with S-Log3, audio options and the option to shoot full-frame then the a99 II should be top of your list.
Photokina opened his doors today and plenty of bloggers and SAR readers are sending us their hands-on reports and impressions. This post will be continually updated with new informations.
Photokina A99II newsfeed:
Hands-on with Sony a99 II at Dpreview. There is finally some small info about the new menu:
Sony has refreshed the camera’s menus to make them both easier to navigate and to remember. Some associated features have now been clustered together – you can find all the movie options in the same place, for instance. The tabs as the top of the menu are also now color coded, to help you recognise and remember which section of the menu you’re in. Whether this is be visible enough to help you recall where a particular setting is remains to be seen but it’s great to see Sony taking steps to address their menu system.
Sony A99 II Hands-On First Impressions: Time with Sony’s new professional speed demon (Imaging Resource):
“The autofocus system was very quick and seemed to lock onto targets as well as track them fairly well.”
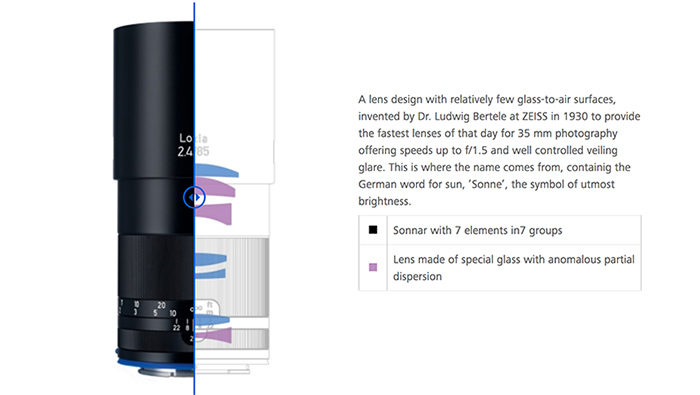
To sum things up, this new Loxia is mostly a stellar performer, from a technical point of view. Though the f/2.4 max aperture might not turn heads at the pub, it is at least a fully usable f/2.4 in which aperture is used purely as a means of light gathering and depth of field control, not to control aberrations. And the Sonnar design certainly lives up to its sweet-bokeh reputation. The Loxia 85 significantly outresolves my 42Mpix sensor and should be future-proofed for the next couple of generations of megapixel lunacy that manufacturers will inevitably inflict upon us in place of better handling